You need to follow the following 4 main steps in order to use Modern Authentication in Searchlight:
- Create a self-signed certificate and a private key file.
- Register an Azure AD application in the Azure Active Directory tenant that is linked to your Office 365 tenant (the one containing the sites/libraries you want to process).
- “Connect” the certificate created in step 1 to the application created in step 2.
- Provide the values generated from the above steps in the Aquaforest application.
This guide is based on this blog.
1. Create a self-signed certificate and a private key file
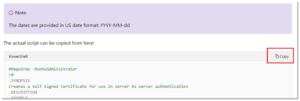
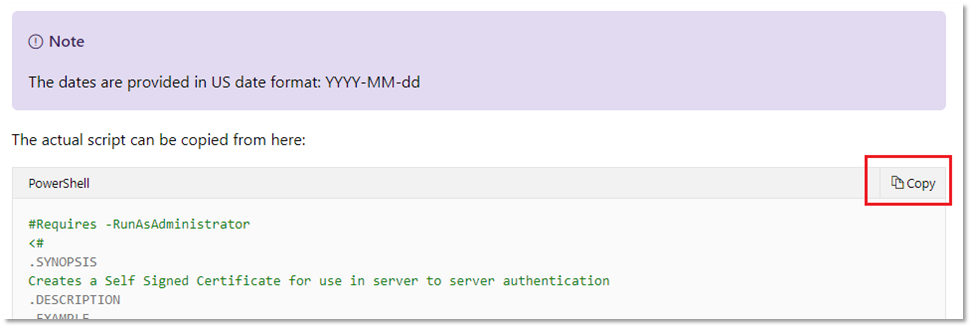
- Copy the PowerShell script from the blog and save it in a file named “Create-SelfSignedCertificate.ps1“
- Open PowerShell in administrator mode
- While in PowerShell, change the directory to the location containing the “Create-SelfSignedCertificate.ps1” script file.
- Run the script by using the following command
..\Create-SelfSignedCertificate.ps1 -CommonName "MyCompanyName" -StartDate 2021-07-01 -EndDate 2022-07-01
Note:
- Change “MyCompanyName” to your company name
- Change the StartDate to the current date
- Change the EndDate to a date in the future
- You will be asked to give a password to encrypt your private key. Make a note of this as you will need to provide it in the Aquaforest application.
- After this a .PFX file and a .CER file will be exported to the current folder.
2. Register an Azure AD application
Follow the steps in the blog starting from “Next step is registering an Azure AD application in the Azure Active Directory […]”:
3. Connect the certificate created in step 1 to the Azure AD application
Follow the steps in the blog starting from “Final step is “connecting” the certificate we created earlier to the application.”
4. Provide the values generated from the above steps in the Aquaforest application (e.g. Searchlight)
In order to use Modern Authentication in Searchlight, you need to provide 4 values for the fields highlighted in image below.
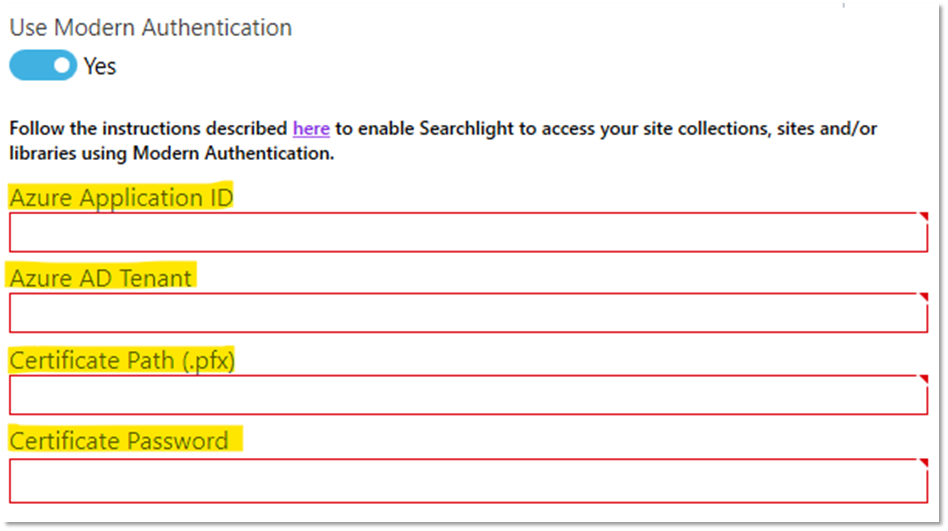
These 4 values will be available if you correctly followed the previous steps.
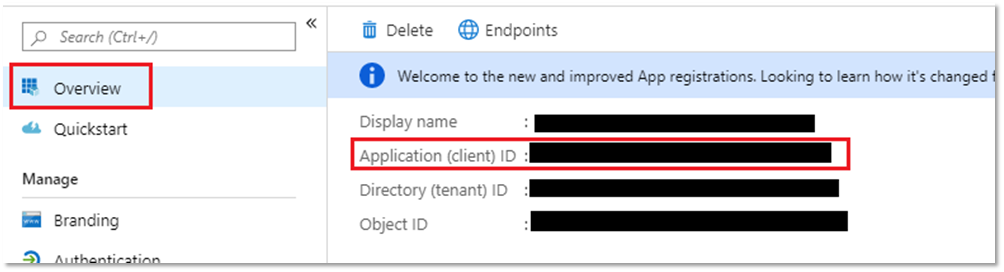
- Azure Application ID
- In Azure, go to the Azure AD application you created.
- Click on Overview on the left pane.
- Copy the “Application (client) ID” and paste in the “Azure
Application ID” textbox in Searchlight
- Azure AD Tenant
- In Azure, click on the Manifest tab on the left pane
- Copy the value for publisherDomain and paste in the “Azure AD
Tenant” textbox in Searchlight (“Tenant URL” in Searchlight 1.3 and “Directory (Tenant) ID” in Autobahn DX 5.5)
- Certificate Path (.pfx)
Provide the full path of the .PFX file generated in step 1 (f) - Certificate Password
Provide the password you supplied in step 1 (e)