
Autobahn allows users to set up and customize workflows with ease and run them automatically. It also works well at processing large volumes of documents and supports a large array of file types.
Here’s how to use Autobahn DX to create automated OCR workflows from images:
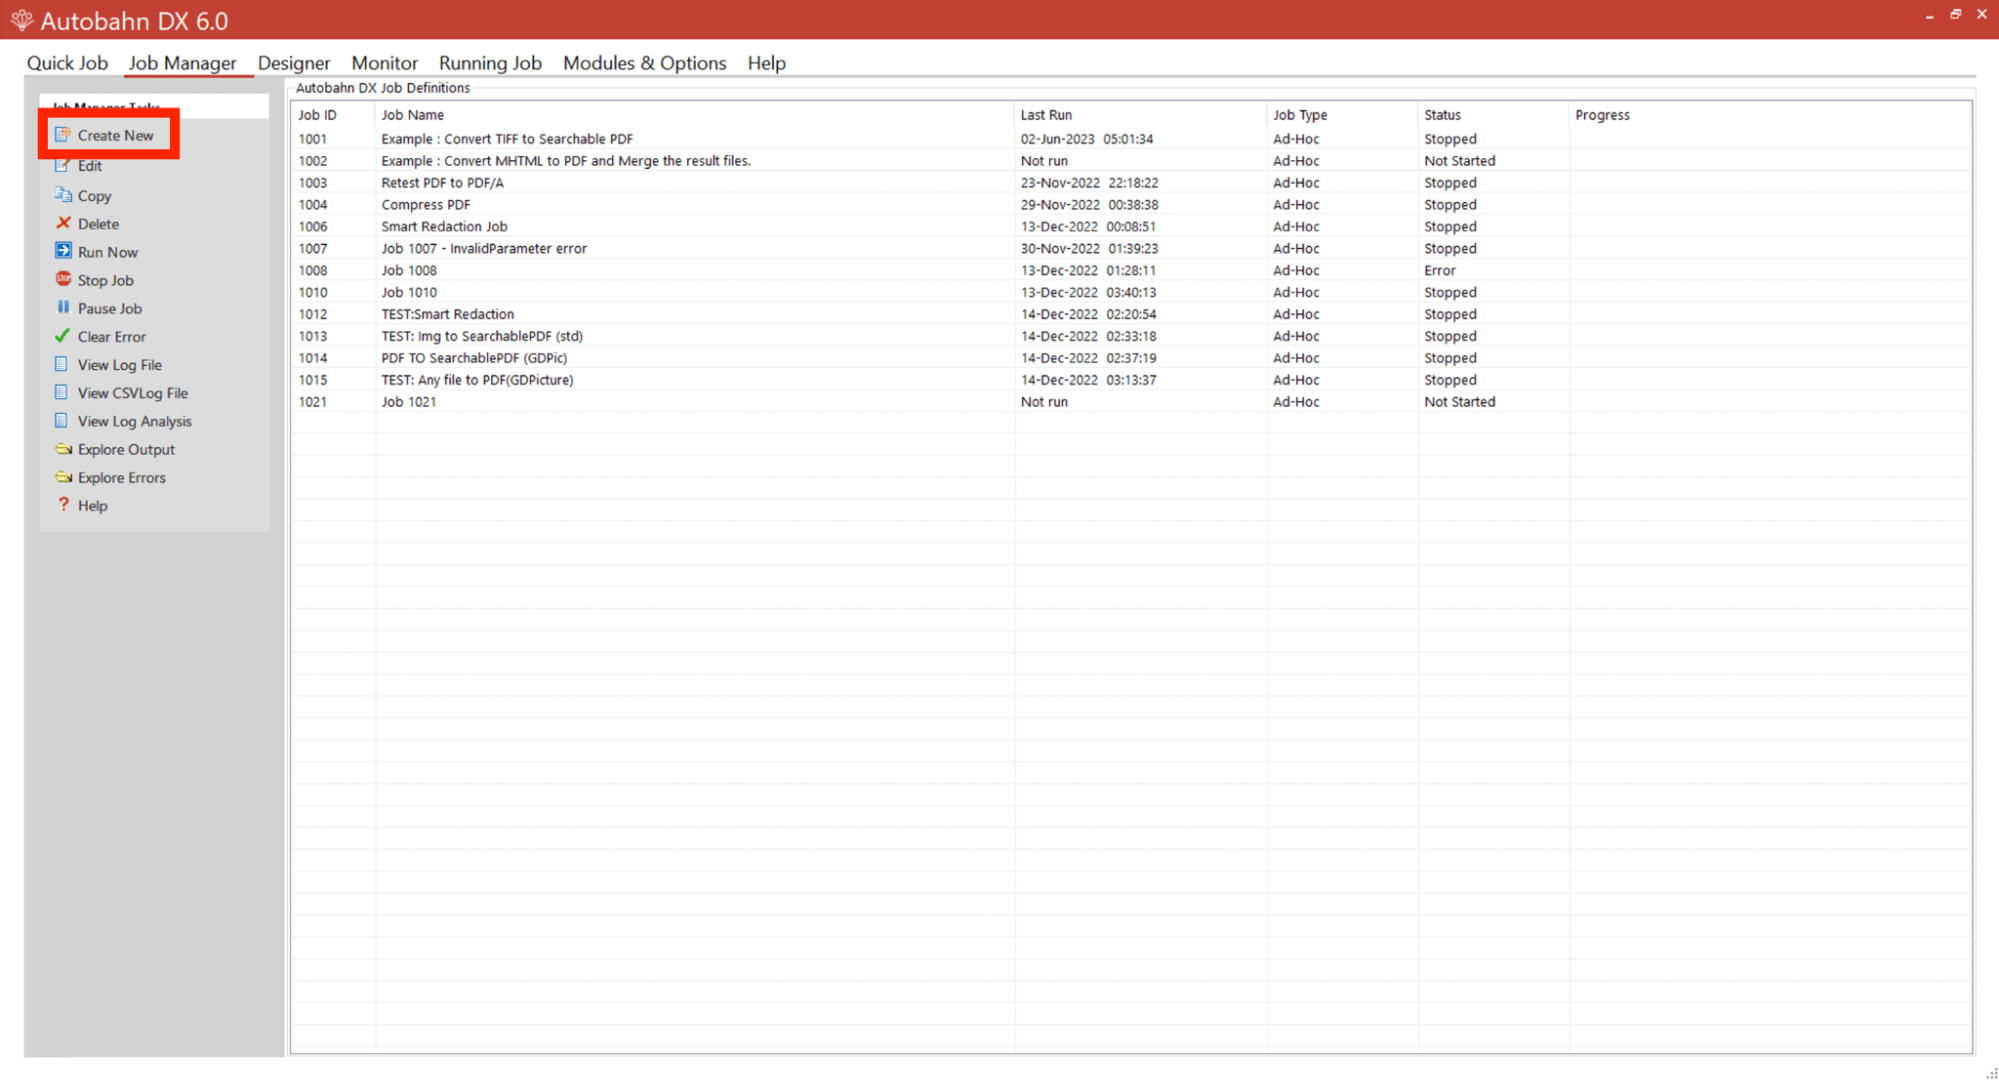
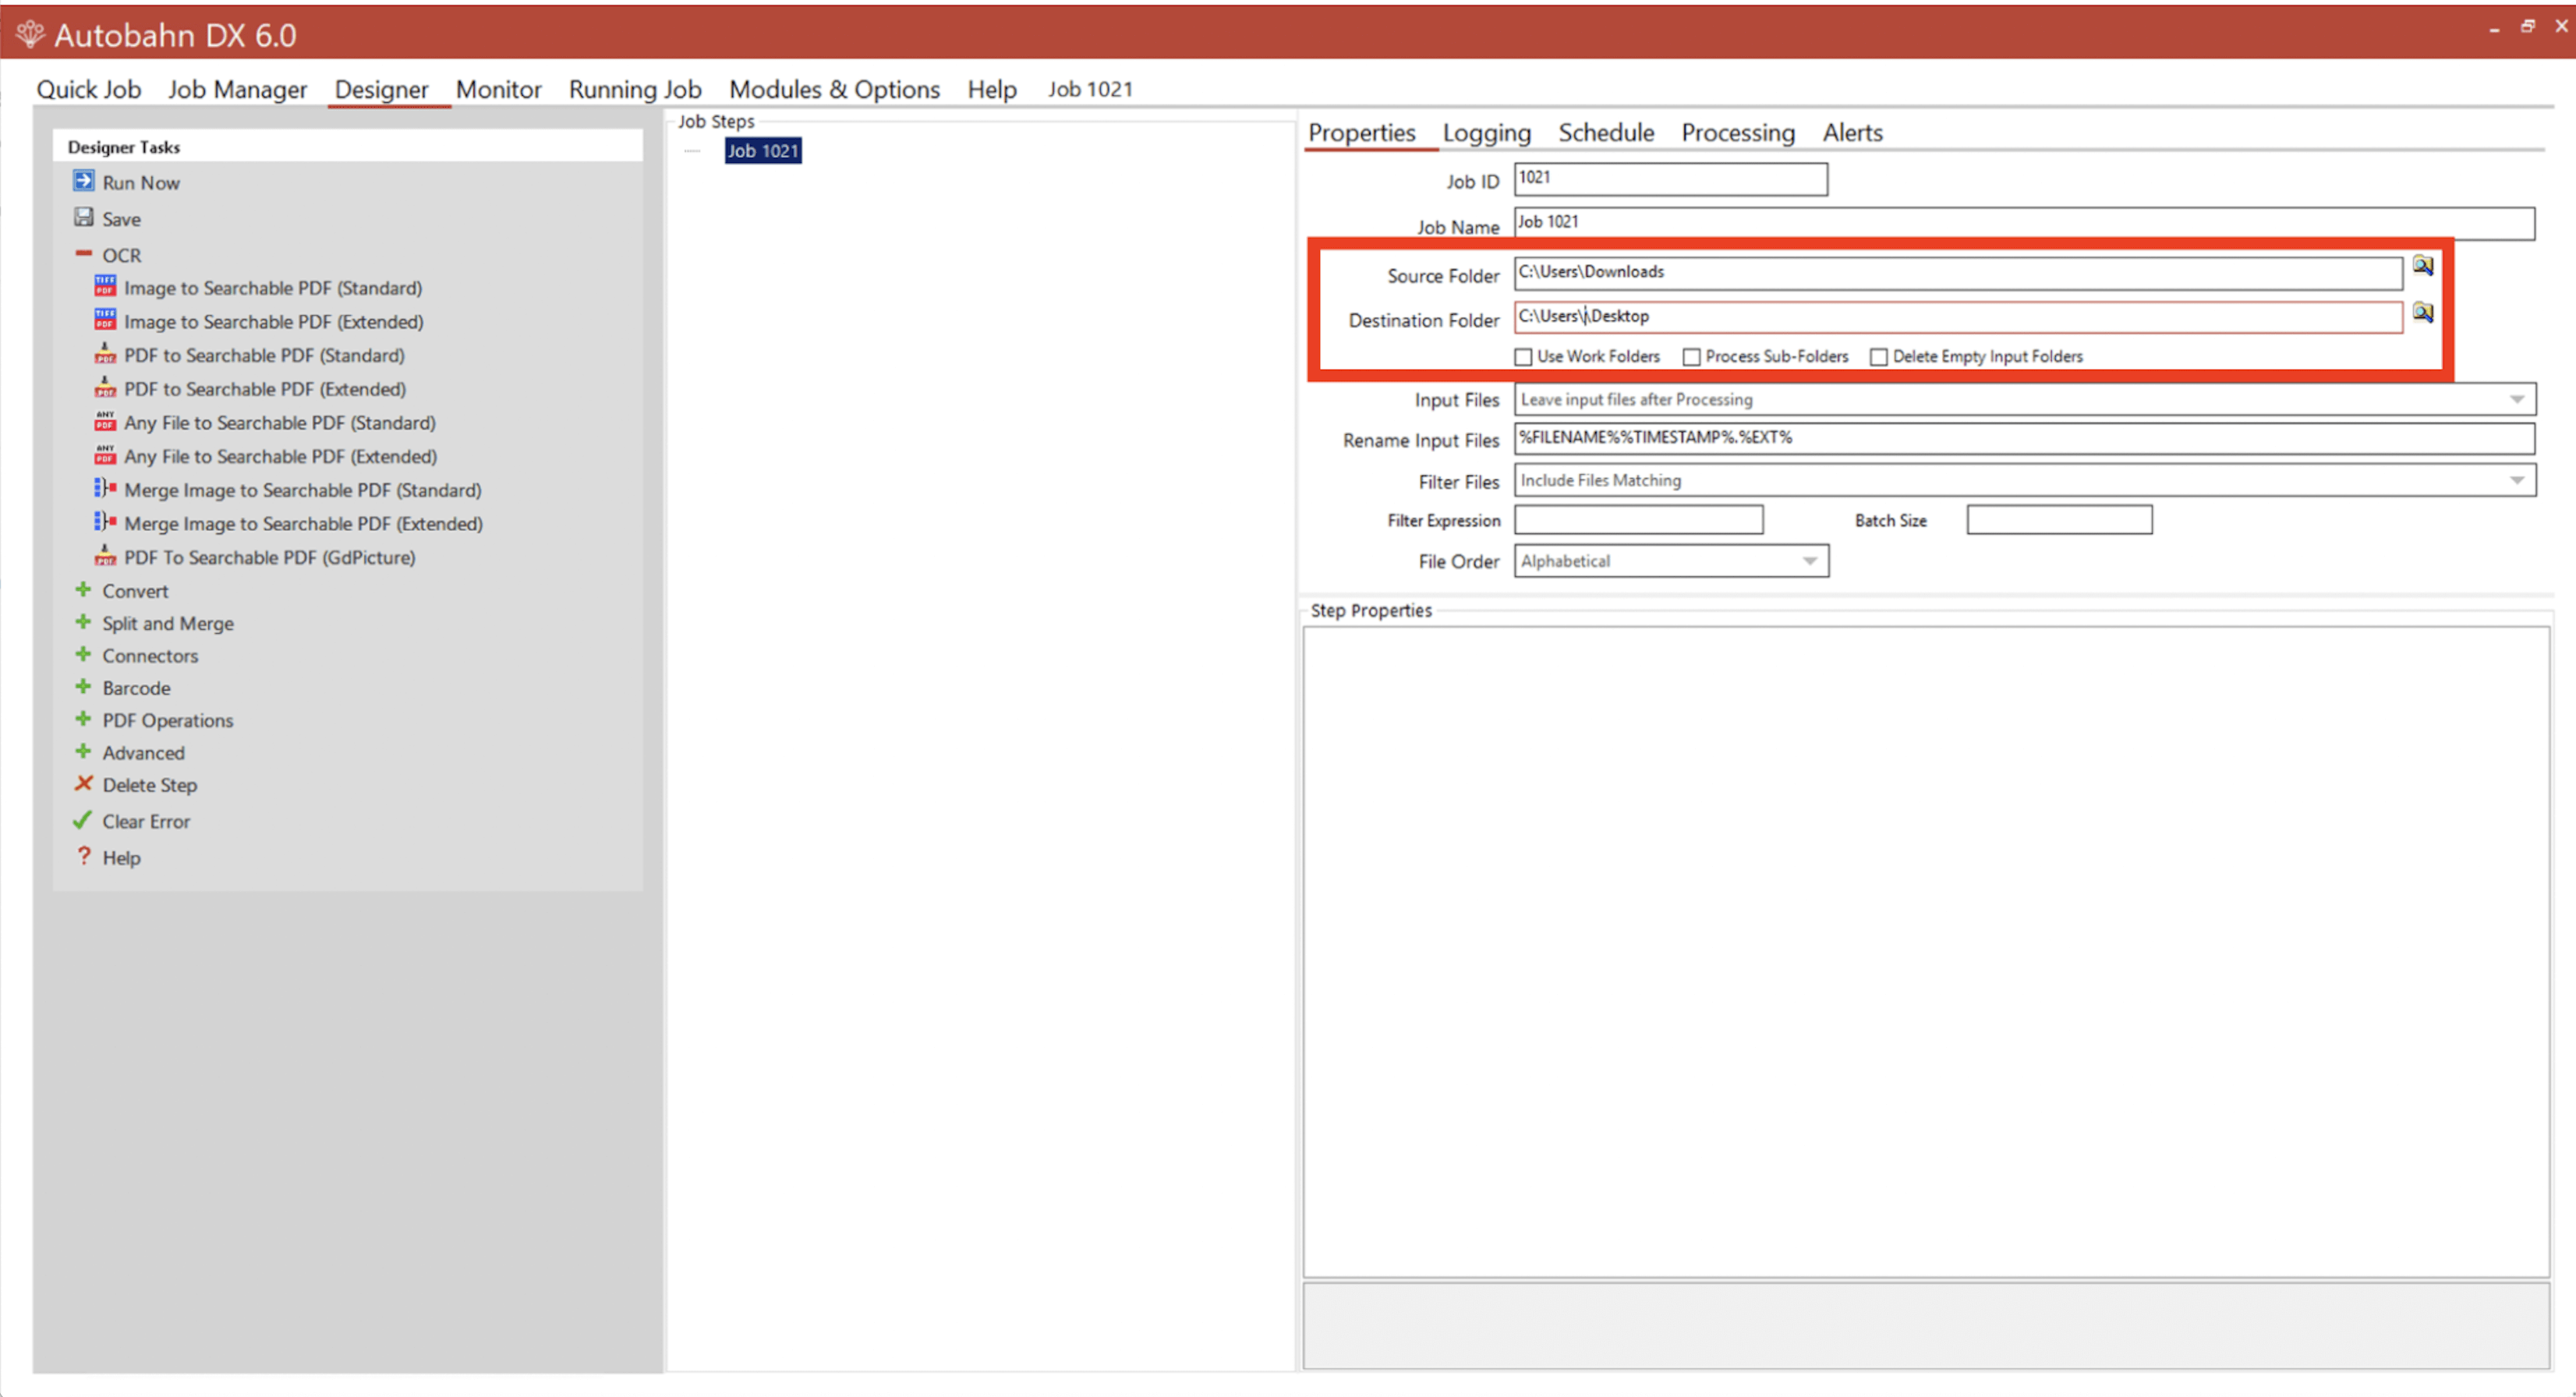
Click Create New. Fill in the Source Folder and Destination Folder fields by clicking the magnifying glass to the right of these fields. The source (input) folder is where all the images you want to process should go. The destination (output) folder is where all the processed images will end up.
You can process different image file types — for example, PNG, JPEG, TIFF, and others.
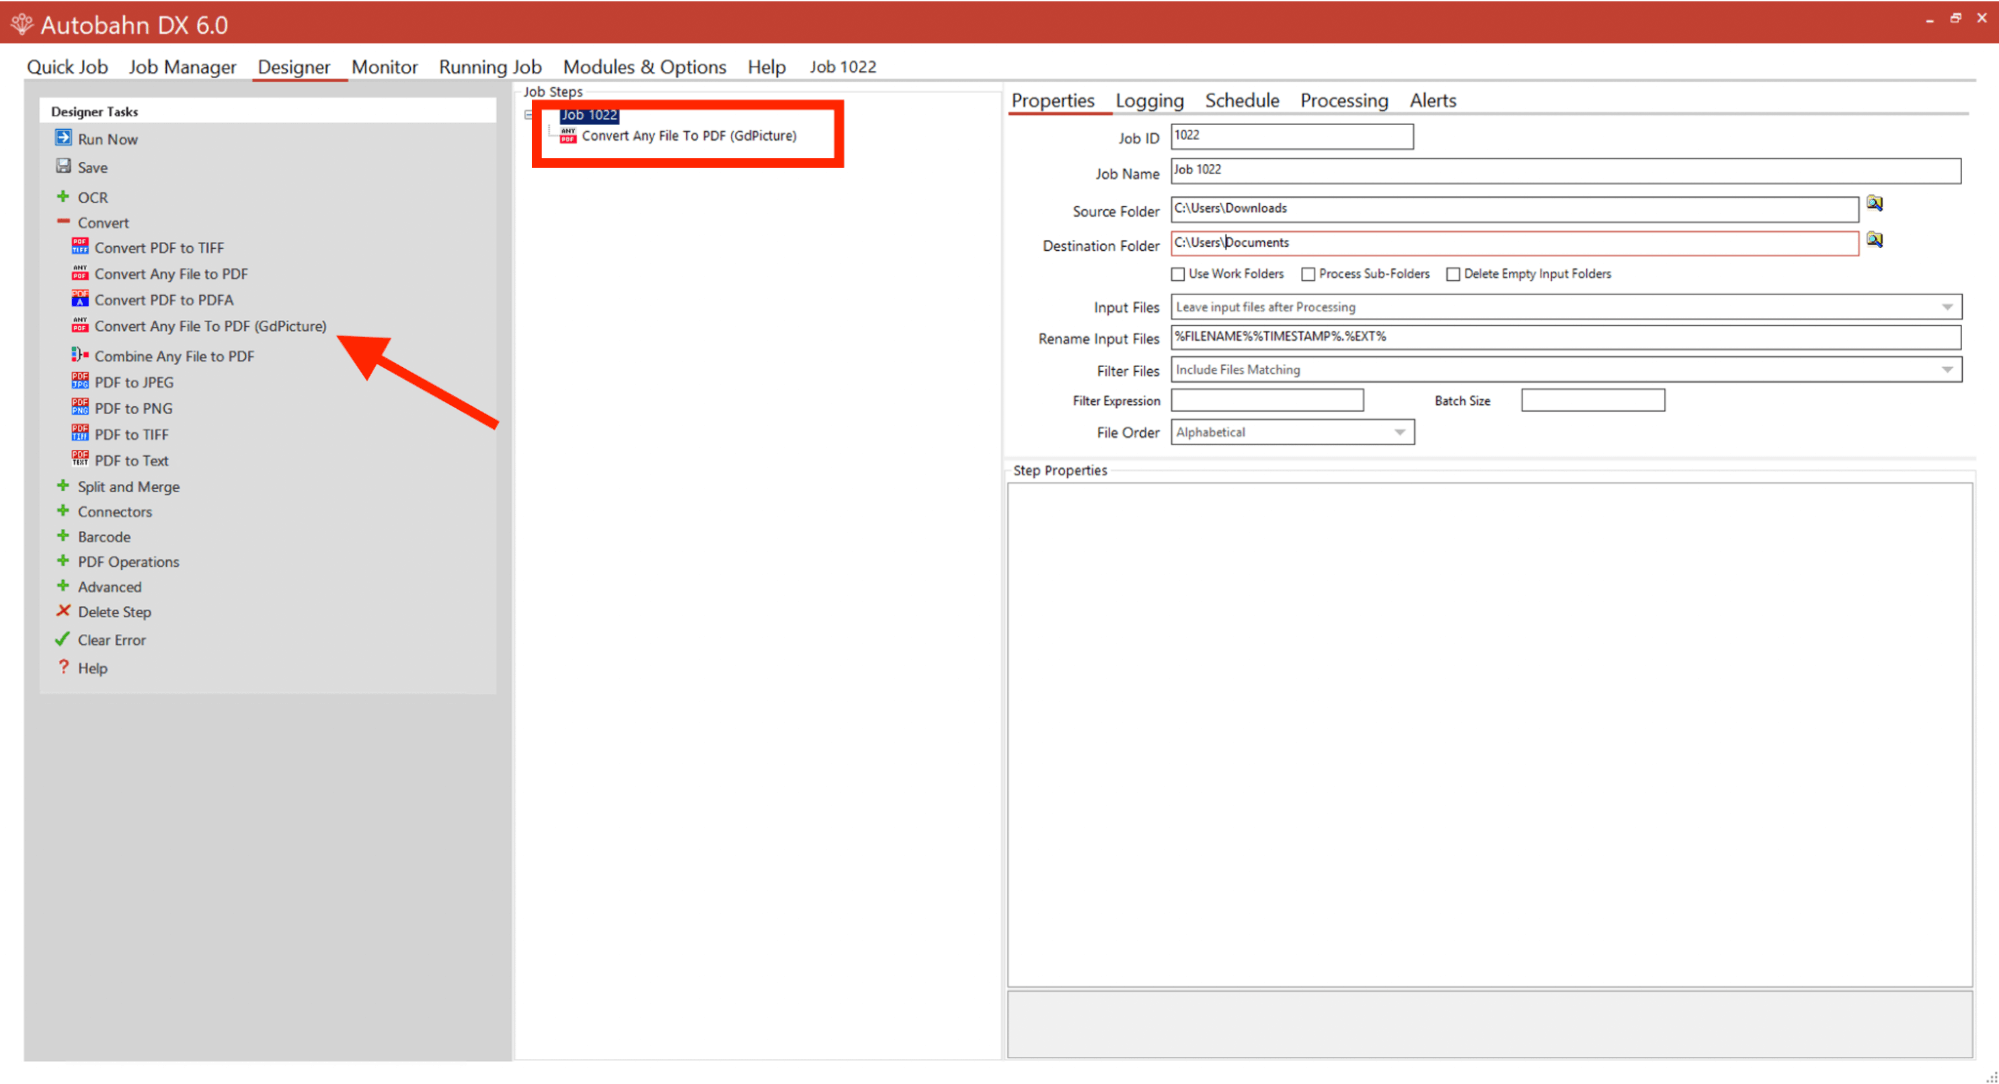
2. Select Convert Any File to PDF (GDPicture).
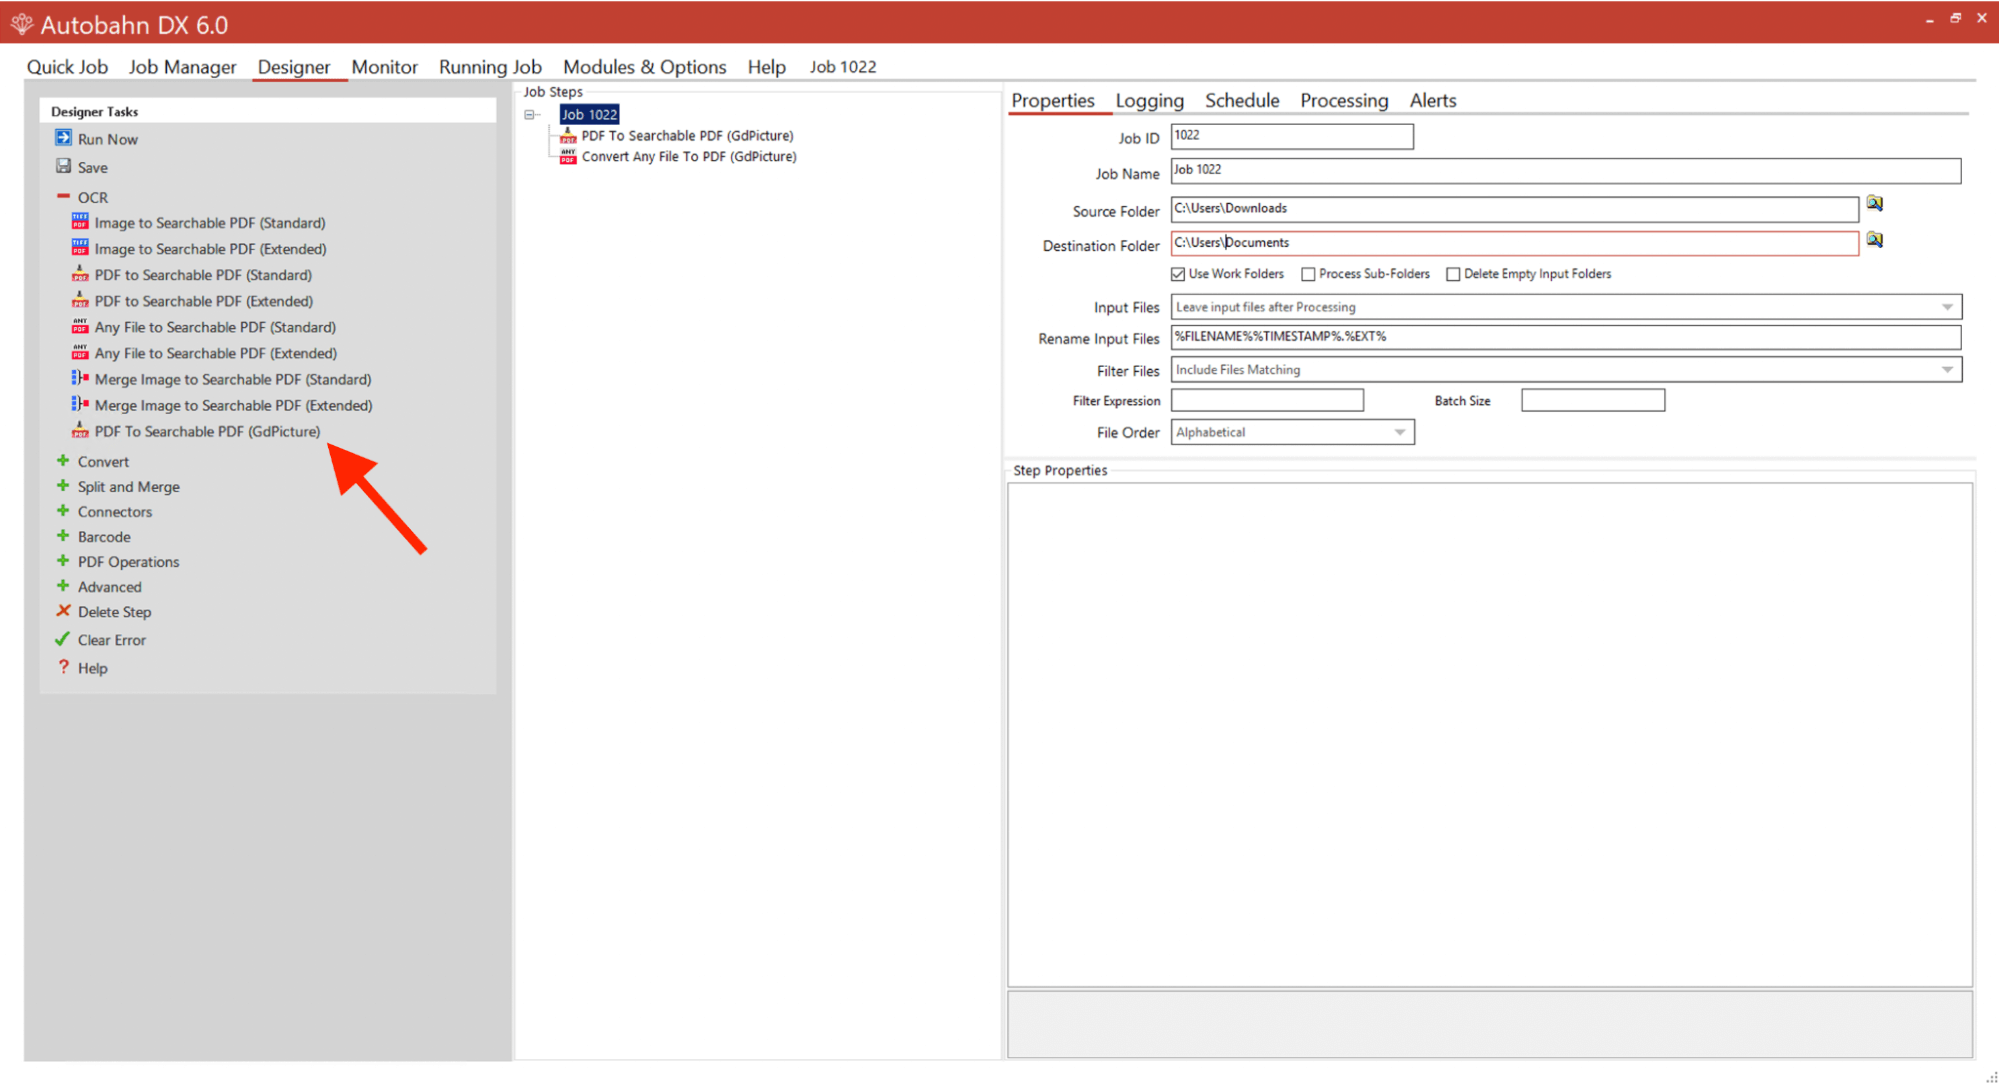
Under OCR, select PDF To Searchable PDF (GdPicture).
4. Add a work folder.
This is an intermediate folder between the source folder and the destination folder, and the unsearchable PDF will be put in a work folder before it’s picked up by the second step to then add the text layer. Finally, save this job by clicking Save in the left sidebar.
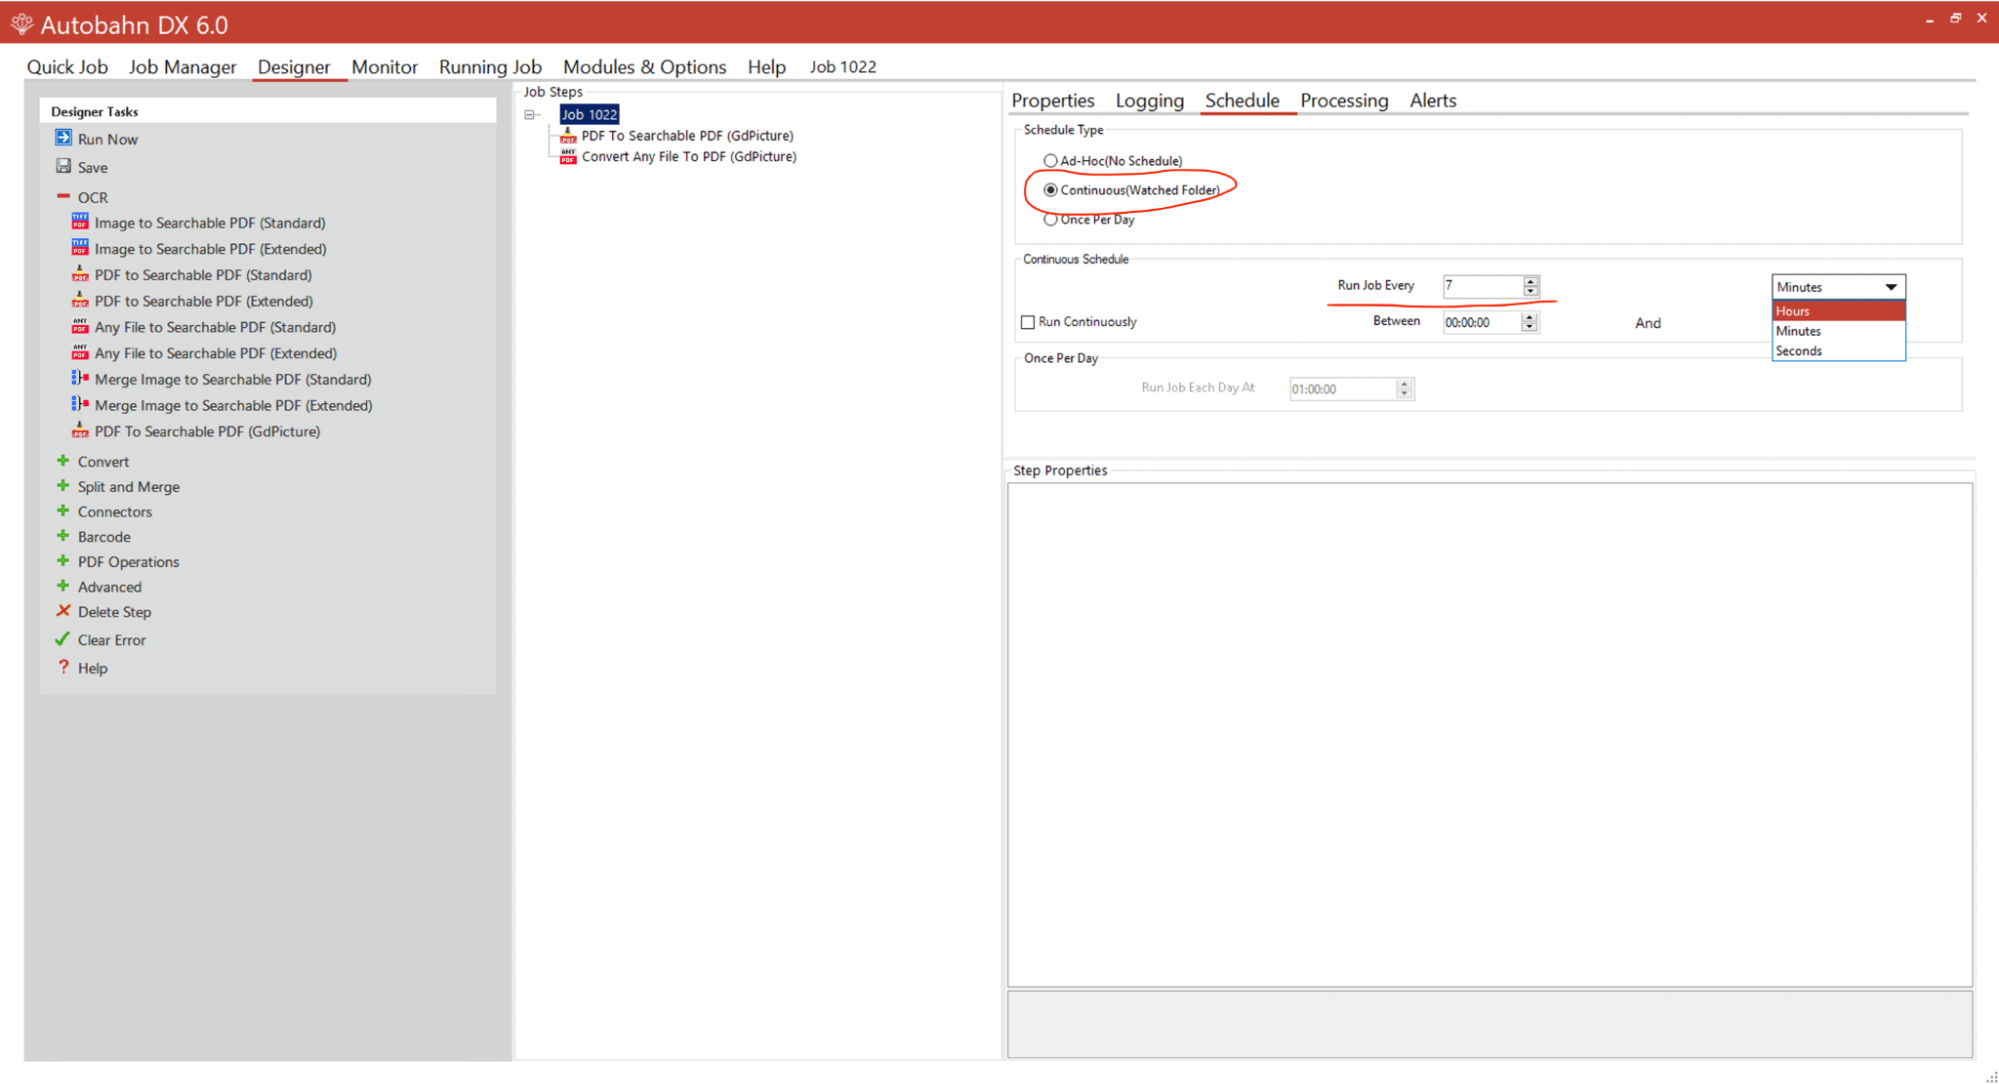
5. Set up the job to run automatically.
As the default option, the job type will be set as ad hoc, which means it needs to be run manually. But in this instance, you’ll want it processed automatically.
Select Designer, and then click the Schedule tab. You can choose the Once Per Day option and run jobs out of hours. Or, you can choose the Continuous (Watched Folder) option and set the job to run every minute. If you work with multiple jobs, you should stagger the times that they run.
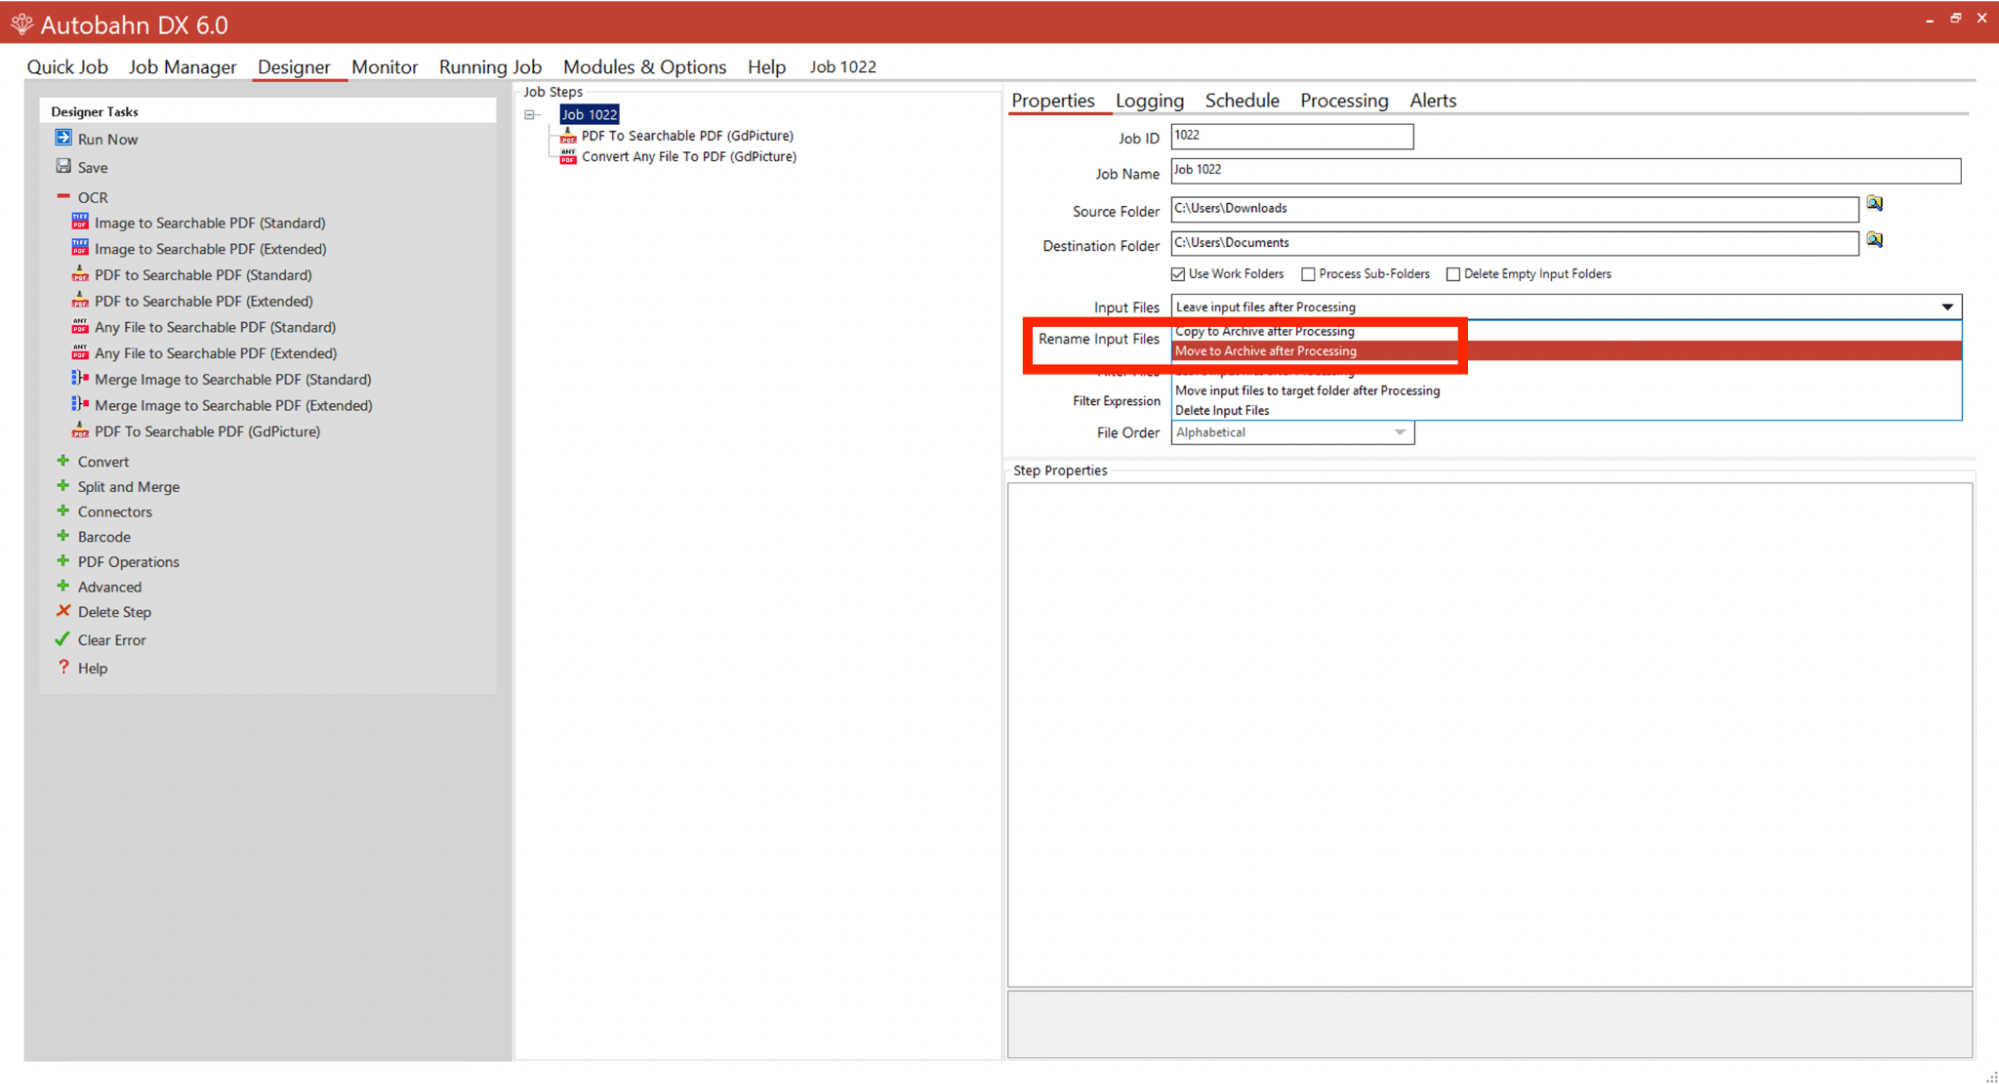
A common issue people initially encounter when setting up a job is that their input files stay in the input location. As a result, when they’re continuously processing that folder, those files are continuously processed.
To prevent this, you should move them to an archive so that they’re no longer processed.
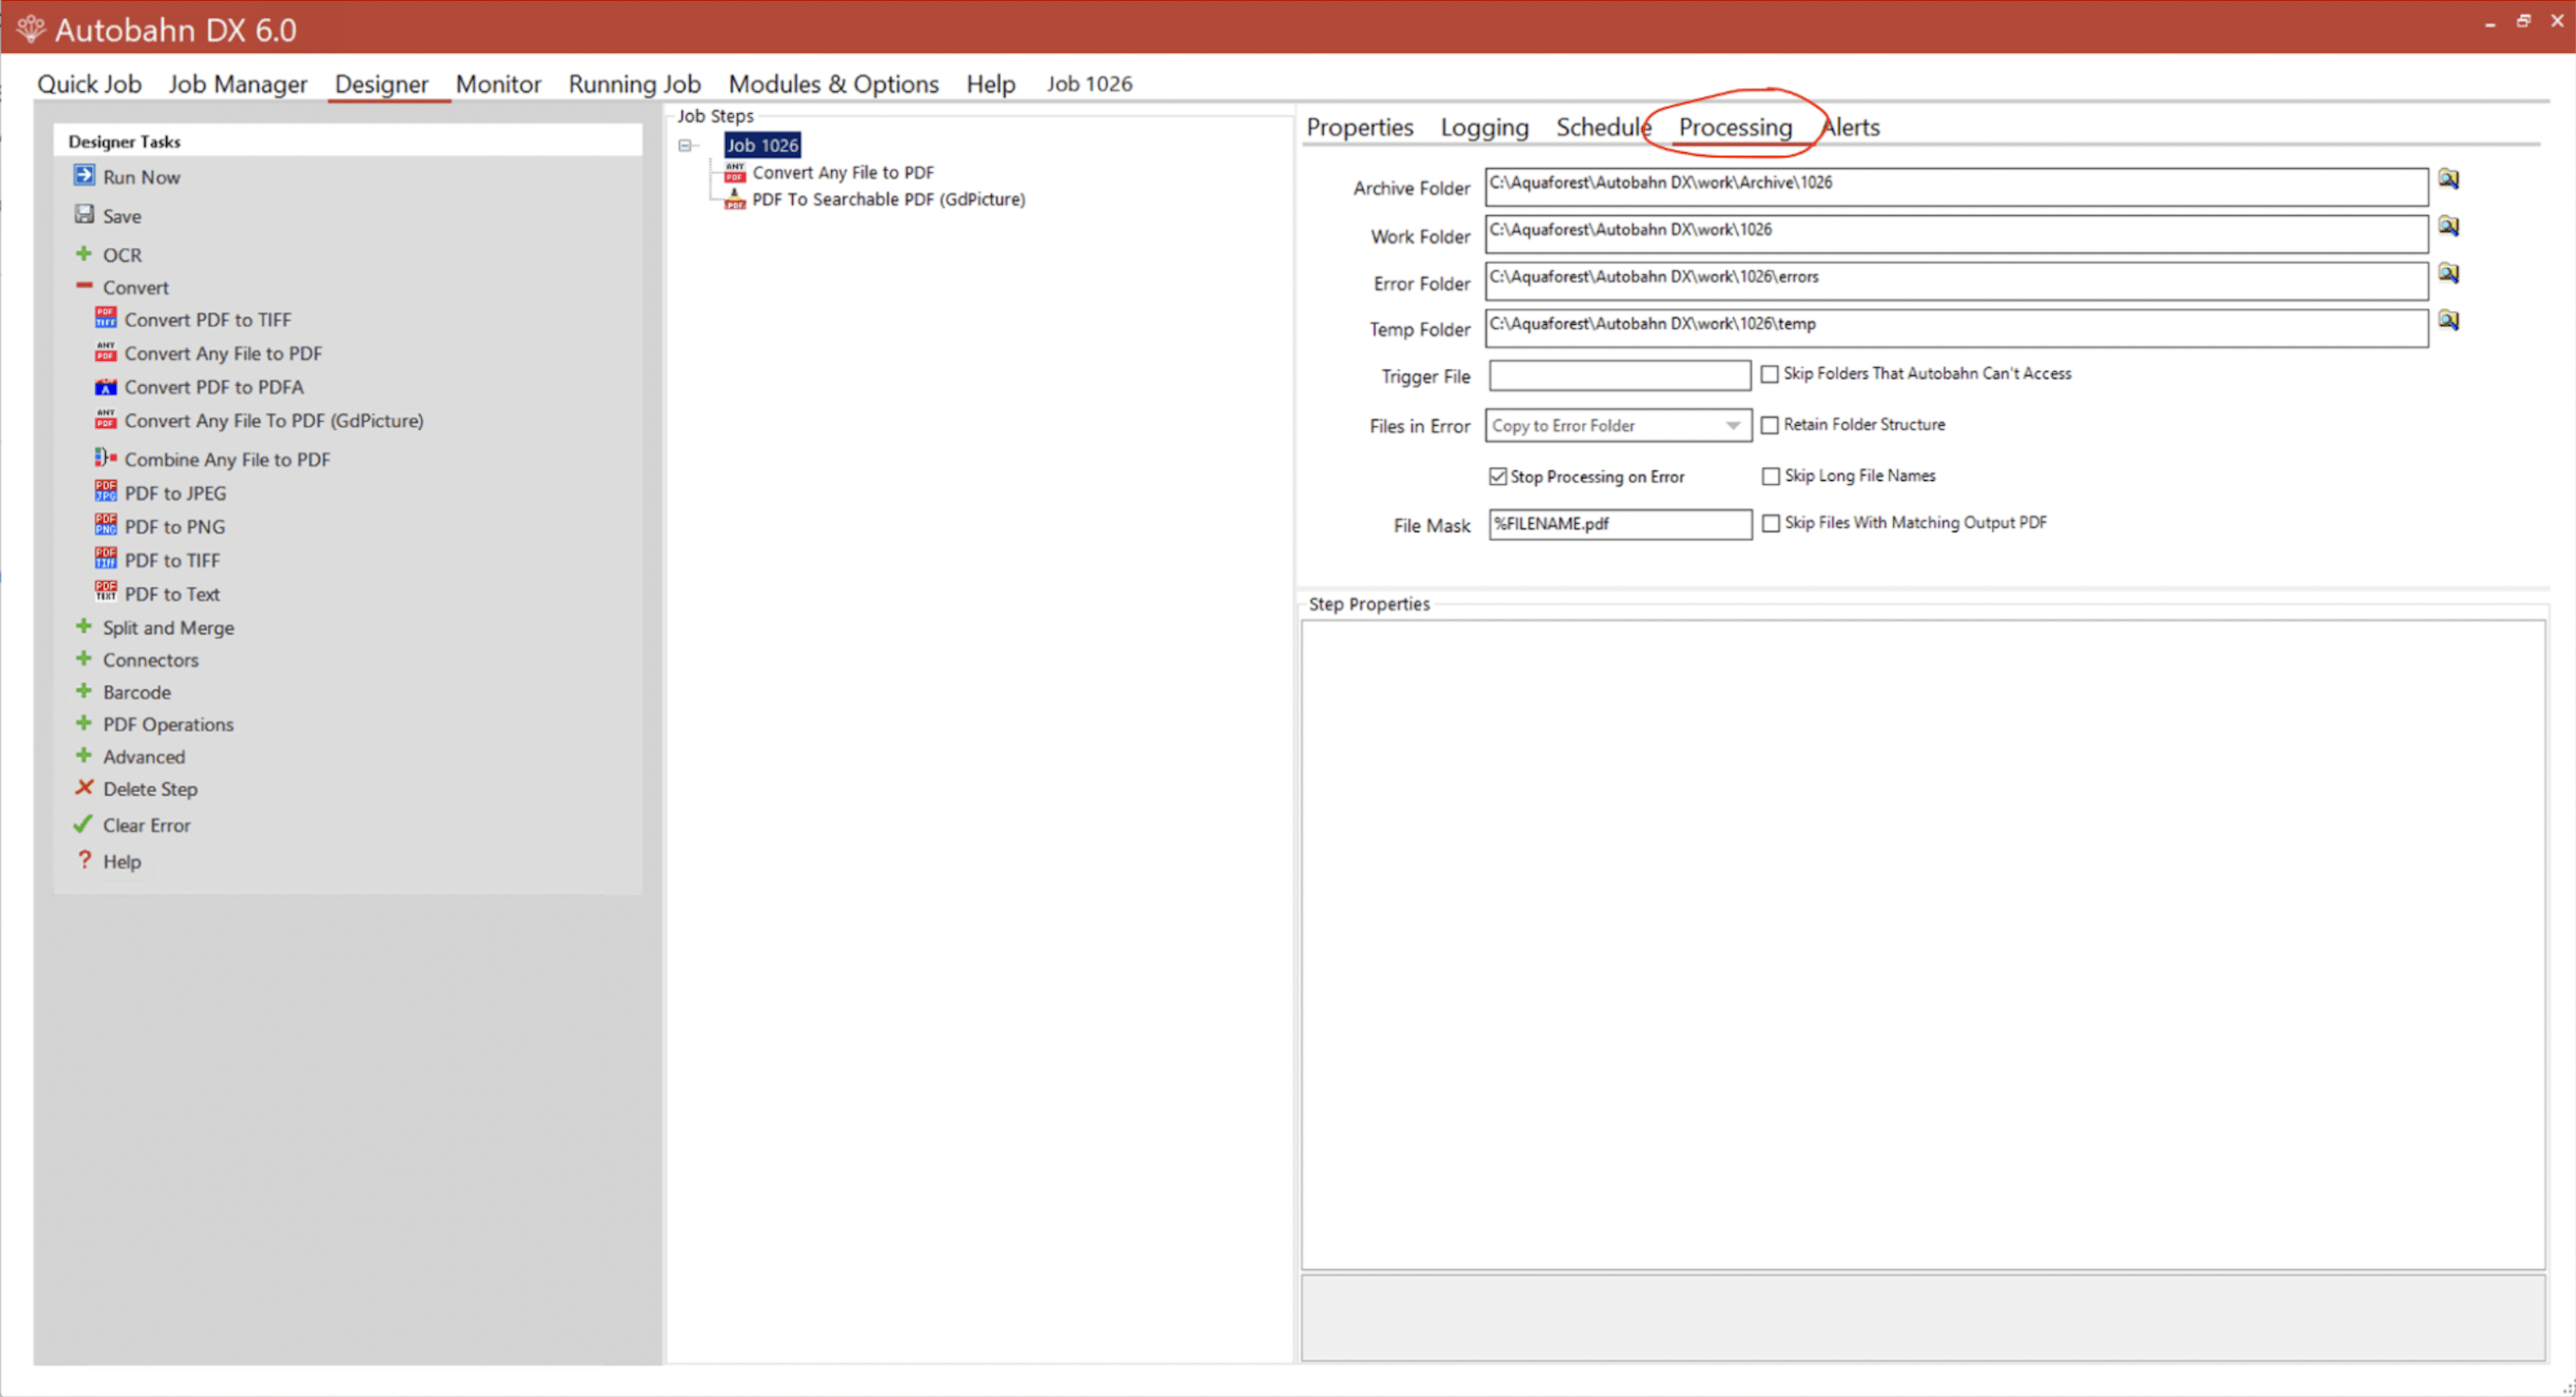
After the files have been picked up the first time, go to the Processing tab under the Designer menu to set your archive location.
Once you click Save, the process will start and your images will automatically be OCRed.
As soon as they’re finished, you’ll see that the image files that have been processed will be put in the archive, and the output destination folder will have all the processed images. If you add more image files to that folder, after a minute, that job will pick up the image files and process them.
If you want to try these steps yourself, download the free trial of Autobahn and make your documents searchable. Or, if you prefer to see these steps in action, check out our video tutorial below.